
The advent of smart phones have affected us like no other technology advancement has. We now increasingly rely on our hi tech devices for day to day tasks. And our devices support it too! To the extent that we can now separate our professional and privates lives by using two numbers on the same device. Dual sim phones have made that possible. It is certainly a boon for many.

But having a dual sim smart phone has its own drawbacks too. Some applications that one often needs on a day to day basis can only be installed bound to one account (read contact number). For instance, popular instant messaging application – WhatsApp. The application, once installed on a device, ties itself to a particular number that one enters upon first opening the app. Although that number receives the benefit of instant connectivity through WhatsApp, the other number has to rely on other, often unpopular applications for connectivity.
With the popularity of WhatsApp growing, dual sim smartphone owners who actually use two sim cards, for whatever reasons are in a catch 22 situation – buy another smartphone for the second number? Or make do with limited connectivity for it? Although we don’t see WhatsApp officially coming up with support for multiple accounts anytime soon, there are ways one can use two accounts in a single device. We did our research, and believe it when we say, it was an ardent task. Here’s our guide to installing two accounts on a single device, made easier for you with screenshots taken on our Moto G4 plus.
Follow the step by step guide to soon be able to use both the sim cards on a dual sim device with WhatsApp on a single device.
Note: This tutorial is only for Android powered devices. Although the same may work for iOS or Windows too (subject to availability of the apps discussed in the respective app stores). Users with other operating systems can try it out and let us know whether it works, through the comments section below.
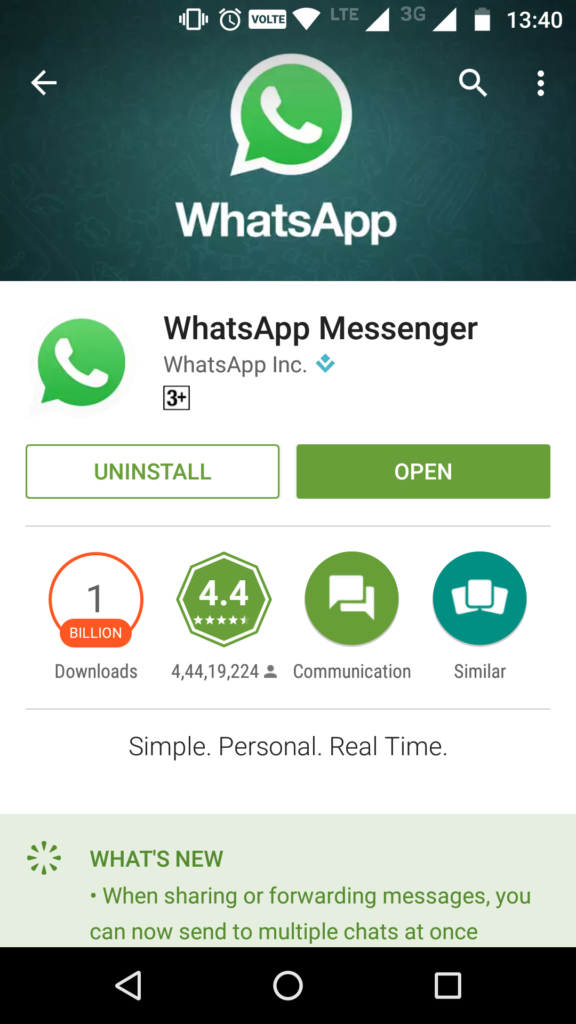
Step 1 – Install the regular WhatsApp messenger application from Google playstore and register it with either of your numbers. If you already have WhatsApp running for one of your contact numbers, jump to step two.
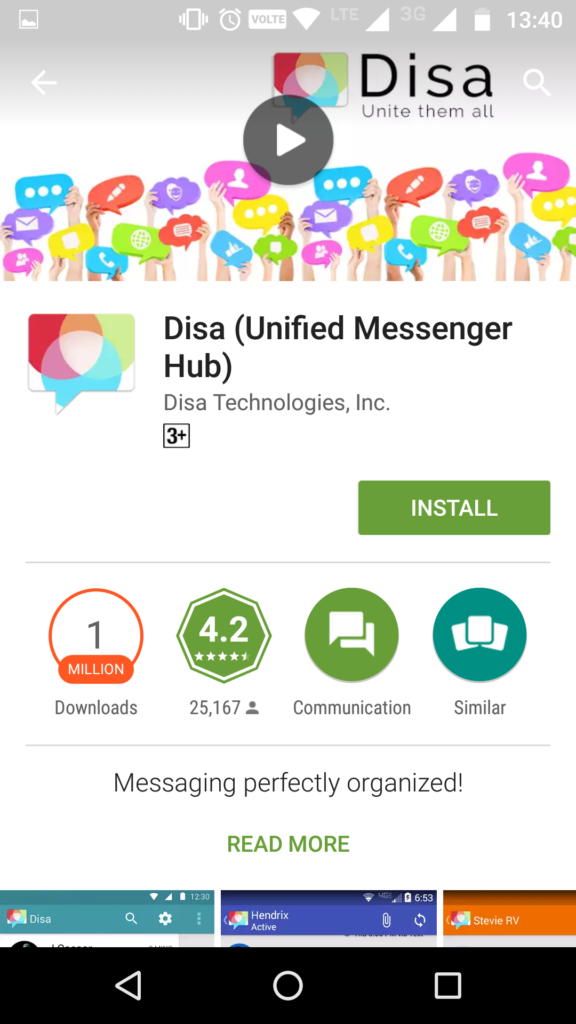
Step 2 – Open Google play store and search for ‘Disa – Unified Messenger Hub’. Download and install the same. It is an app that lets you integrate all your messaging apps into one. Why we like it is because it lets you install a parallel WhatsApp account on your device without affecting the original one that’s already running.
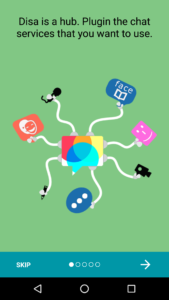
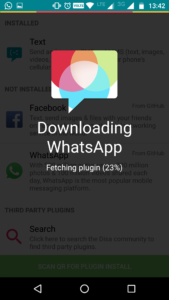
Step 3 – Once installed, open the application. You can go through the tutorial or else skip it. Click on ‘add service’ and choose WhatsApp. Let it download the required plugin.
Step 4 – Once done, the plugin needs to be configured on the device. Enter the phone number and the desired name that you would want to register the app with. You will also need to enter the MCC and MNC number for the network carrier that you intend to use with this app. You can find these numbers for any carrier that you may be using on www.mcc-mnc.com
Step 5 – Once you enter all the details, your number is verified, much like the original WhatsApp messenger. Enter the code that you receive over text or call and your secondary WhatsApp account is all set.
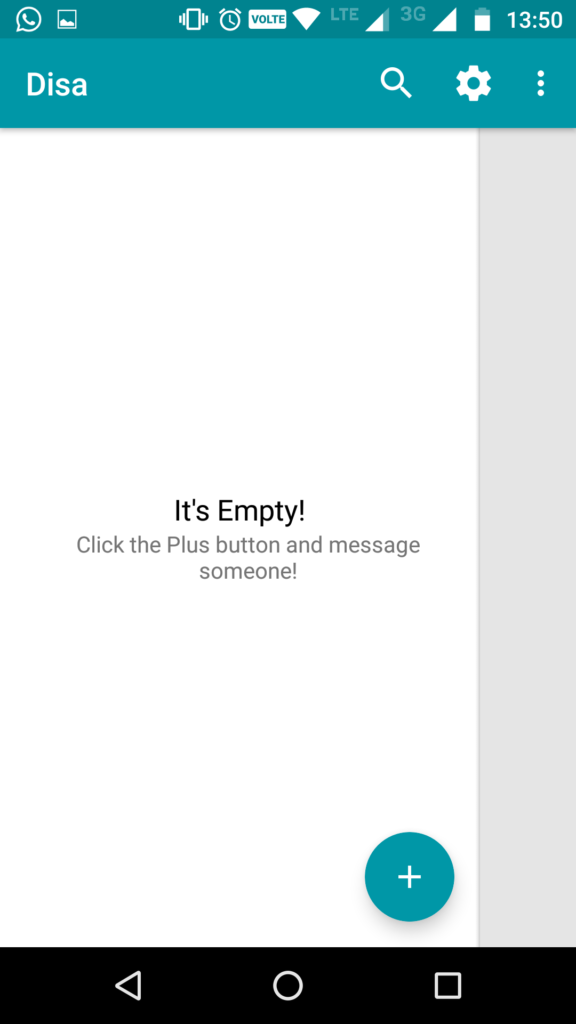
You can now click on the ‘+’ button below to select a contact and start chatting.
This works flawlessly on our Moto G4 Plus. Try it on your devices and let us know about your success through the comments section below.